Last updated: September 12, 2026
⚡ Key Takeaways
As an Amazon Associate we earn from qualifying purchases at no extra cost to you.



- The most expensive mistakes happen before any tools come out.
- Remove any existing cargo flooring, paneling, or shelving.
- Cutting into your van is terrifying but best done early, while the walls are bare and accessible.
- With holes cut and sealed, insulate the walls, ceiling, and floor.
Understanding how to convert a van step by step turns an overwhelming project into a clear, manageable sequence. A van conversion looks like chaos when you stare at an empty metal shell, but every successful build follows the same logical order: you can’t insulate before you clean, and you can’t run wires after you’ve installed cabinets. This guide lays out the entire process from bare van to finished home, in the right sequence, with realistic timelines and budgets so you know exactly what comes next at every stage.
🛒 Best Price Today on Amazon
Prime members get fast, free shipping on everything above, plus member-only deals. New members get a 30-day free trial — cancel anytime.
- Before You Start: Plan and Measure
- Step 1: Clean, Strip, and Treat Rust
- Step 2: Cut Holes for Windows and Vents
- Step 3: Insulate the Van
- Step 4: Run Your Electrical Wiring
- Step 5: Install Floor and Wall Panels
- Step 6: Build the Furniture and Bed
- Step 7: Install Your Power, Water, and Appliances
- Comparison Table: Conversion Stages at a Glance
- Choosing Your Systems Wisely
- Step 8: Finishing Touches
- Top-Rated Picks
- Frequently Asked Questions
- Conclusion
- Related Articles
- Related Guides
Before You Start: Plan and Measure
The most expensive mistakes happen before any tools come out. Spend real time designing your layout on paper or with free software. Decide where the bed, kitchen, seating, storage, and electrical components will live, and confirm everything fits with measurements taken inside your actual van. Plan your systems—how much power, water, and ventilation you need—because those decisions affect every later step. A weekend of careful planning saves weeks of tearing out work you got wrong. Order long-lead items like windows, fans, and electrical components early so they arrive when you need them.
Step 1: Clean, Strip, and Treat Rust
See also: Granblue Fantasy GBF Tier List: Best Characters • Frostwyrm to Avalanchewyrm Guide: Frost Evolution Event
Start with a blank slate. Remove any existing cargo flooring, paneling, or shelving. Vacuum every corner, then inspect the entire body for rust—especially the floor, wheel wells, and lower walls. Treat any rust now with a converter and primer, because once it’s buried under insulation and panels, you’ll never reach it again. This is also the moment to fix any leaks. A clean, rust-free, watertight shell is the foundation everything else sits on.
Step 2: Cut Holes for Windows and Vents
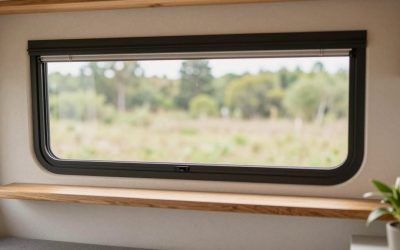
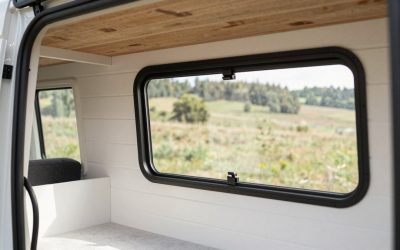
Cutting into your van is terrifying but best done early, while the walls are bare and accessible. Install your roof vent fan and any windows now. These openings provide ventilation, light, and—in the case of the fan—the cornerstone of your climate control. Doing this before insulation means you can seal and weatherproof the cutouts properly from the inside. Measure three times, cut once, and use plenty of quality sealant.
Step 3: Insulate the Van
With holes cut and sealed, insulate the walls, ceiling, and floor. Use rigid foam board, sheep’s wool, Thinsulate, or a combination, filling cavities without over-compressing. Add a thermal break and avoid creating spots where moisture can condense against bare metal. Good insulation keeps you warm in winter, cooler in summer, and quieter on the highway. Don’t forget sound-deadening mats on large metal panels to cut road noise and rattles.
Step 4: Run Your Electrical Wiring
Now, while the walls are still open, run all your electrical wiring. Map out where every light, fan, outlet, and appliance will go, and pull the correct gauge wire to each location. Leave service loops and label everything. This is the stage to rough in your 12V and any 120V circuits so that when the walls go up, the wires are hidden and ready. You’ll install the actual battery, inverter, and panels later, but the wiring chase must happen now.
Step 5: Install Floor and Wall Panels
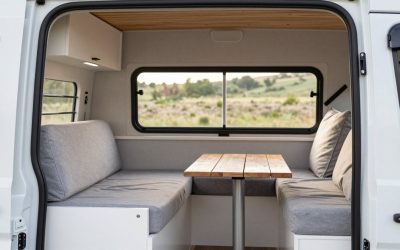
Lay your subfloor over the insulated base, then your finish flooring—vinyl plank is popular for being waterproof and durable. Next, panel the walls and ceiling with thin plywood, tongue-and-groove cedar, or another lightweight material, feeding your pre-run wires through as you go. This is the step where the van suddenly starts to feel like a room. Take your time on fit and finish here, because these surfaces are the backdrop for everything else.
Step 6: Build the Furniture and Bed
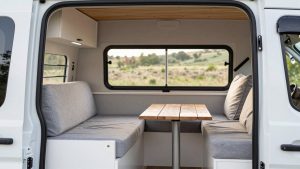
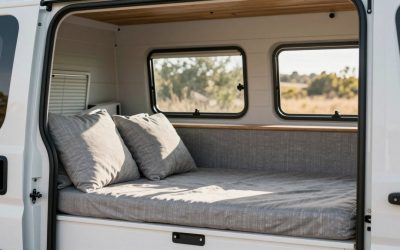
With finished walls and floor, build out the structural elements: the bed platform, kitchen counter, cabinets, and seating. Most builders frame these from plywood and dimensional lumber, anchoring to the walls and floor for stability while driving. Decide between a fixed bed (with garage storage beneath) or a convertible dinette-to-bed depending on your space and lifestyle. Build storage everywhere you can—van life lives or dies by having a place for everything.
Step 7: Install Your Power, Water, and Appliances
Now bring the systems to life. Mount and connect your battery bank, inverter, charge controller, and solar panels, then test every circuit. Install your water tanks, pump, and sink plumbing. Set your fridge, stove, and any heating or cooling appliances into their finished homes and wire them in. This is where careful earlier planning pays off—everything should slot into the space you reserved for it.
Comparison Table: Conversion Stages at a Glance
| Stage | Typical Time | Rough Cost | Skill Level |
|---|---|---|---|
| Planning & design | 1–3 weeks | $0–$100 (software) | Beginner |
| Clean, strip, rust | 2–4 days | $50–$200 | Beginner |
| Windows & vents | 1–2 days | $300–$900 | Intermediate |
| Insulation | 3–5 days | $400–$1,200 | Beginner |
| Electrical wiring | 3–7 days | $1,000–$4,000 | Advanced |
| Floor & walls | 1 week | $500–$1,500 | Intermediate |
| Furniture & bed | 1–3 weeks | $800–$2,500 | Intermediate |
| Systems & appliances | 1 week | $1,500–$5,000 | Intermediate–Advanced |
Choosing Your Systems Wisely
The electrical and appliance choices you make in planning ripple through the whole build, so research them early. If a full DIY electrical system feels daunting, a high-capacity portable power station lets you run lights, a fridge, and devices without wiring a battery bank from scratch—a popular shortcut for first-time builders. For the kitchen, a 12V portable fridge is far more efficient than a traditional cooler and integrates easily into any layout. And for water, planning a clean fill-and-drain system around a quality camping water tank keeps your plumbing simple and reliable. Choosing modular, proven gear keeps your first build achievable.
Step 8: Finishing Touches
The final stage is where your van becomes a home. Add lighting fixtures, window coverings, cushions and bedding, and any trim or decor. Test-drive the van and check that nothing rattles or shifts. Live in it for a few short trips before committing to permanent modifications—you’ll discover small tweaks that make daily life smoother. A conversion is rarely truly “finished”; most van lifers refine their build continuously as they learn what they actually need.
Top-Rated Picks



| Product | Brand | Rating | Reviews | Price |
|---|---|---|---|---|
| Anker Soundcore 2 Portable Bluetooth Speaker with Ste… | — | ★ 4.6 | 150.7k | $29.98 |
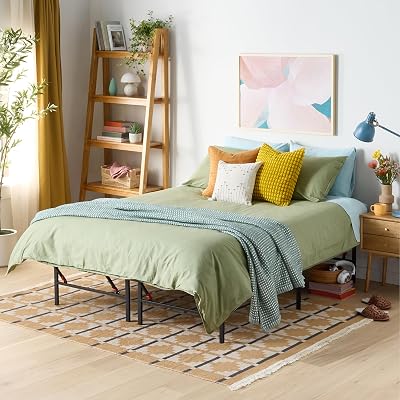
| Amazon Basics Bed Frame with Storage, Foldable Metal … | AmazonBasics | ★ 4.7 | 106.5k | $104.99 |
| GCI Outdoor Freestyle Rocker Camping Chair | Portable… | GCIOUTDOOR | ★ 4.8 | 45.9k | $80.00 |
| GCI Outdoor Freestyle Rocker Camping Chair | Portable… | GCIOUTDOOR | ★ 4.8 | 45.9k | $80.00 |
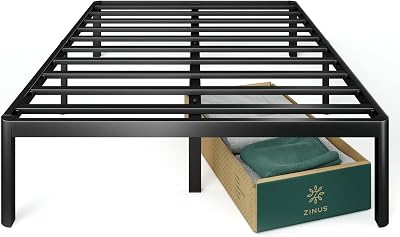
| ZINUS Van 16 Inch Metal Platform Bed Frame / Steel Sl… | — | ★ 4.5 | 70.6k | $87.44 |
Frequently Asked Questions
How long does it take to convert a van?
A full DIY conversion typically takes 2–4 months of part-time weekend work, or 4–8 weeks of dedicated full-time effort. Simple builds can be done in a couple of weeks; elaborate ones with complex electrical and plumbing can stretch to six months.
How much does it cost to convert a van yourself?
A DIY conversion usually runs $5,000–$20,000 on top of the van itself, depending on your electrical and appliance choices. Budget builds with reused materials can come in under $5,000, while high-end builds with large solar and lithium systems exceed $25,000.
What order do you convert a van in?
Plan first, then clean and treat rust, cut windows and vents, insulate, run electrical wiring, install floor and wall panels, build furniture, install systems and appliances, and finish with decor. Following this order prevents costly rework—you can’t wire after the walls are up.
Do I need to be a skilled carpenter to convert a van?
No. Basic DIY skills and a willingness to learn are enough for most of a conversion. Electrical work is the one area where mistakes are dangerous, so study it carefully or consult a professional. Plenty of first-timers complete full builds using online guides.
Can I convert a van without cutting holes?
You can, but you’ll sacrifice ventilation and light. At minimum, most builders cut one roof vent fan because airflow is essential for managing heat and condensation. If you truly can’t cut, rely heavily on opening doors and windows—but expect a hotter, stuffier van.
Conclusion
Converting a van is far less daunting once you see it as a sequence rather than a single giant task. Plan thoroughly, then work from the shell outward: clean and rust-proof, cut openings, insulate, wire, panel, build, and install systems. Follow the order, choose proven modular gear to simplify your first build, and don’t rush the planning that prevents expensive mistakes. Take it one step at a time, and that empty metal box becomes a home you built with your own hands.