Last updated: October 8, 2026
Yes, you can build a reliable off-grid solar system for a van or small RV for under $1,500 in 2026 if you buy the parts separately. A solid target is 200 to 400 watts of solar panels, 200Ah of 12V LiFePO4 battery (about 2.5 kWh), a 30 to 40 amp MPPT charge controller, a 1,000 to 2,000 watt pure sine inverter, and properly sized wiring and fuses. That runs a 12V compressor fridge, lights, fans, phone and laptop charging, and short bursts from small appliances every day.
What does not fit the budget is electric cooking, air conditioning, or a big home-style “complete kit” with several kilowatt-hours of storage. Those kits can be good value per watt, but most run well past $1,500, so the build below focuses on matching parts to what a van actually uses.
As an Amazon Associate we earn from qualifying purchases.

Topsolar Solar Panel Kit 100 Watt 12 Volt Monocrystalline Off Grid System
Included for 'Off-Grid Solar Setup Under $1500' as a representative home product in this roundup; selection reflects the product set returned for this topic.
View on Amazon
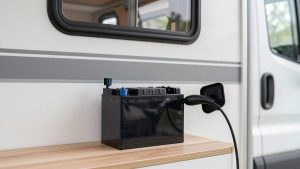
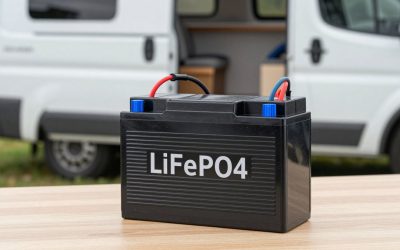
12V 100Ah LiFePO4 Battery, Group 24 Deep Cycle for RVs & Trolling Motors
Included for 'Off-Grid Solar Setup Under $1500' as a representative home product in this roundup; selection reflects the product set returned for this topic.
View on Amazon
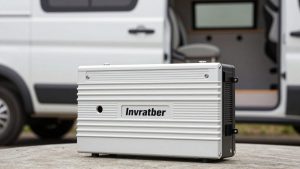
BELTTT 3000W Pure Sine Wave Inverter 12V DC to 120V AC, 6000W Peak
Included for 'Off-Grid Solar Setup Under $1500' as a representative home product in this roundup; selection reflects the product set returned for this topic.
View on AmazonStep 1: Size your daily loads first
Batteries and panels are sized from watt-hours per day, not from what sounds impressive. Multiply each device’s watts by hours used per day, then add them up. A typical van day looks like this:
| Load | Typical draw | Hours/day | Watt-hours/day |
|---|---|---|---|
| 12V compressor fridge (cycling) | 45 W | about 10 effective | 450 |
| Roof vent fan | 20 W | 8 | 160 |
| LED lights | 15 W | 5 | 75 |
| Laptop charging | 60 W | 4 | 240 |
| Phones, headlamps, small electronics | 20 W | 3 | 60 |
| Water pump, misc | 50 W | 0.5 | 25 |
| Total | about 1,010 Wh |
About 1 kWh per day is common for a working nomad. Add inverter losses (10 to 15 percent for anything running on AC) and you have a realistic number to design around.
Step 2: Battery capacity
See also: How Long Will a 100Ah Battery Last in a Van? Runtime Math Explained • Best Level 2 EV Chargers for Home
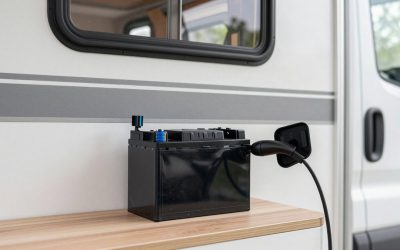
LiFePO4 (lithium iron phosphate) is now the default for vans. It is roughly half the weight of lead-acid, tolerates deep discharge, and lasts thousands of cycles. A 12V 100Ah LiFePO4 battery stores about 1.28 kWh, and you can use most of it. For 1 kWh per day with a day of cloudy-weather buffer, two 100Ah batteries (200Ah, about 2.5 kWh) is the sweet spot. A Group 24 size 12V 100Ah LiFePO4 battery fits small battery boxes and under-seat spaces, and these batteries usually sell for roughly $180 to $300 each in 2026.
If you are cold-weather camping, check whether the battery has low-temperature charge protection or self-heating. LiFePO4 cells should not be charged below freezing, and most built-in battery management systems simply block charging until the battery warms up.
Step 3: Solar panel watts
A rough rule for the continental US is that each 100W of flat-mounted roof solar produces 300 to 500 Wh per day in summer and far less in winter or shade. For 1 kWh per day:
- 200W covers light users in sunny regions in summer.
- 300 to 400W covers most full-time van users from spring through fall.
- Winter or shaded camping needs a second charge source, usually a DC-DC charger from the alternator.
Rigid 100W monocrystalline panels remain the best value per watt and last longer than flexible panels. A starter kit like the Topsolar 100W 12V monocrystalline kit is an easy way to get a panel plus mounting hardware and cables; buy two or more panels of the same model so they wire together cleanly. Starter kits often bundle a basic controller, so plan to use a separate MPPT unit once you run more than one or two panels.
Step 4: Charge controller
An MPPT controller converts panel voltage more efficiently than PWM, which matters most when panels are wired in series or when it is cold. Size it by dividing total panel watts by battery voltage: 400W divided by 12V is about 33A, so a 40A MPPT controller gives headroom. Make sure the controller has a LiFePO4 charge profile and that its maximum input voltage is above your panels’ open-circuit voltage in series, with a margin for cold mornings.
Step 5: Inverter
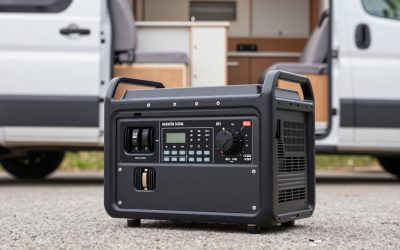
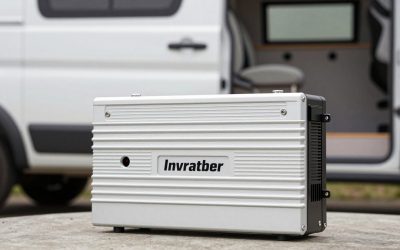
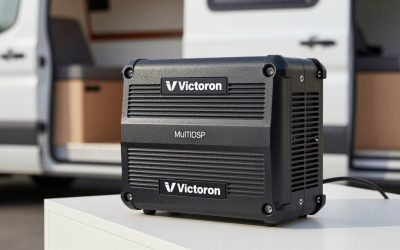
Only buy as much inverter as you actually need. A 1,000 to 2,000W pure sine inverter runs a laptop, blender, small induction burner on low, or power tools. Larger units like the BELTTT 3000W pure sine inverter (6000W peak) can start bigger loads such as a microwave or coffee maker, but at full output on a 12V system it pulls well over 250 amps from the battery. That requires heavy 4/0 cable, a large Class T fuse, and realistically 200Ah or more of battery. If you do not need to run high-wattage appliances, a smaller inverter saves money and idle power.
Step 6: Wiring, fusing, and safety
- Fuse every positive wire as close to the battery as possible, sized to protect the wire.
- Use a Class T fuse on the main battery-to-inverter run for lithium batteries.
- Add a battery disconnect switch and a breaker between panels and controller.
- Use pure copper, fine-strand cable sized for the current and the length of the run; undersized wire gets hot and wastes power.
- Mount the battery securely; a 30-pound battery loose in a crash is dangerous.
Budget around $150 to $250 for cables, lugs, fuses, a busbar, and a shunt-based battery monitor. It is the least exciting part of the build and the most important.
Three example builds and what they cost
| Component | Weekender (~$750–$900) | Full-timer (~$1,150–$1,400) | Max under $1,500 |
|---|---|---|---|
| Solar panels | 200W rigid (about $150–$250) | 400W rigid (about $300–$450) | 400W rigid (about $300–$450) |
| Battery | 1 x 12V 100Ah LiFePO4 (about $180–$300) | 2 x 12V 100Ah LiFePO4 (about $360–$600) | 2 x 12V 100Ah LiFePO4 (about $360–$600) |
| Charge controller | 20–30A MPPT (about $80–$150) | 40A MPPT (about $120–$200) | 40A MPPT (about $120–$200) |
| Inverter | 1,000W pure sine (about $100–$180) | 2,000W pure sine (about $180–$300) | 1,000W pure sine (about $100–$180) |
| DC-DC alternator charger | — | — | 30A unit (about $120–$250) |
| Wiring, fuses, monitor, mounts | about $150–$200 | about $200–$250 | about $200–$250 |
| Storage | about 1.28 kWh | about 2.56 kWh | about 2.56 kWh |
Prices are typical 2026 ranges and change often. The “Max” column swaps a smaller inverter for an alternator charger, which is the better choice for anyone who camps in winter or under trees.
What about all-in-one complete kits?
Bundled kits make wiring simpler because the parts are matched. The catch is size. The ECO-WORTHY 7.168kWh RV kit with 800W of panels is a well-matched van and RV package, but it is usually priced well over budget for this guide; consider it if you can stretch to around twice the target spend and want serious battery capacity. The larger home-oriented kits (5kW to 10kW inverters, 24V or 48V systems with a dozen panels) are designed for cabins and sheds, not van roofs, and they do not fit either the budget or the roof space.
Common mistakes on a budget
- Buying a huge inverter and then not having the battery or cable to feed it.
- Mixing different panel models in series, which drags output down to the weakest panel.
- Skipping the battery monitor, then guessing at state of charge from voltage.
- Forgetting alternator charging, which leaves you short on cloudy days.
Bottom line
For most vans, 400W of rigid panels, 200Ah of LiFePO4, a 40A MPPT controller, a 1,000 to 2,000W pure sine inverter, and quality fusing land at roughly $1,150 to $1,400. That covers about 1 kWh a day with room to spare and leaves a little budget for an alternator charger later.