Van Circuit Breaker Panel: 12V Electrical System Guide for Van Builds
TL;DR Quick Answer
A dedicated van circuit breaker panel is the single most important safety component in a 12V van electrical system. A proper panel — whether a blade fuse block, ANL fuse holder array, or a full DIN-rail breaker panel — protects every circuit from shorts, prevents fires, and gives you one central place to isolate power. Budget $30–$150 for the panel itself. Do not skip this: unprotected wiring is the leading cause of van fires. Every circuit needs a fuse within 12 inches of the positive battery terminal, full stop.
Your van’s 12V electrical system can push 100–200+ amps of current through wiring that runs inches from insulation, wood, and fabric. A single short circuit — a staple through a wire, a chafed insulation point, a loose terminal — releases enough energy to start a fire in seconds. A properly designed van circuit breaker panel is what stands between that scenario and a routine day on the road.
This guide covers every panel type, how to size breakers and fuses for each circuit, where to mount your panel, and the wiring approach that keeps your build safe, organized, and easy to troubleshoot years later.
- Van 12V Circuit Breaker Panel Options: Top Picks
- Fuse Block vs Circuit Breaker Panel: Which Do You Need?
- How to Size Fuses for Every Circuit in Your Van
- Van 12V Panel Layout: How to Design Your Circuit Map
- Where to Mount Your Van Circuit Breaker Panel
- Main Battery Protection: The ANL Fuse
- FAQ: Van Circuit Breaker Panel 12V
Van 12V Circuit Breaker Panel Options: Top Picks
BEST FUSE BLOCK (MOST BUILDS)
12-Circuit Blade Fuse Block with Negative Bus Bar

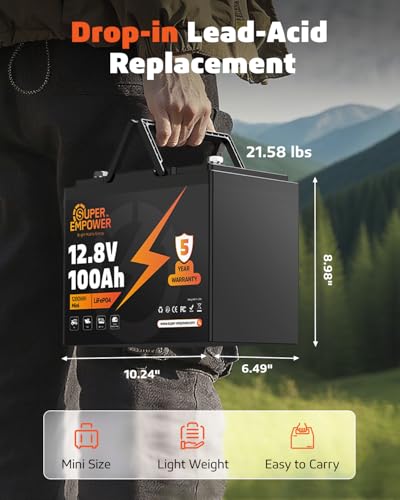
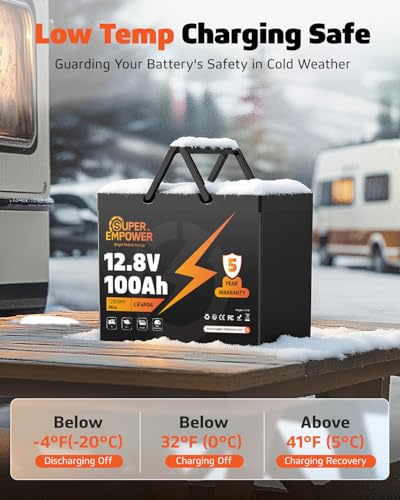
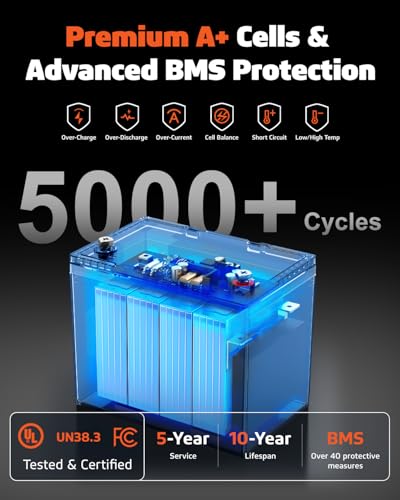
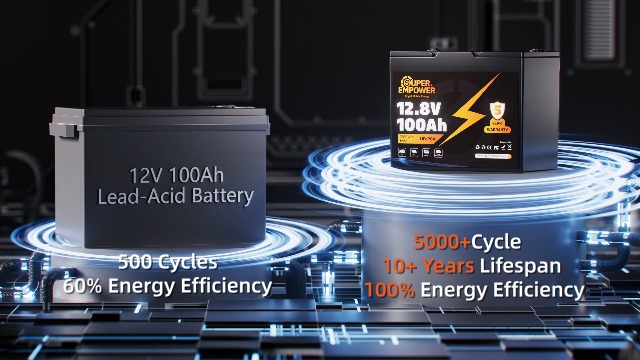
12V 100Ah LiFePO4 Lithium Battery, BCI Group 24 Deep Cycle Solar Battery with Low-Temp Protection, 100A BMS, 1280Wh, 15000 Cycles, 10-Year Lifespan for RV, Marine, Trolling Motor, Marine, Solar Use


As an Amazon Associate we earn from qualifying purchases. Product prices and availability are accurate as of the date/time indicated.
BEST BREAKER PANEL (PREMIUM)
Blue Sea Systems 12-Circuit AC/DC DIN Panel

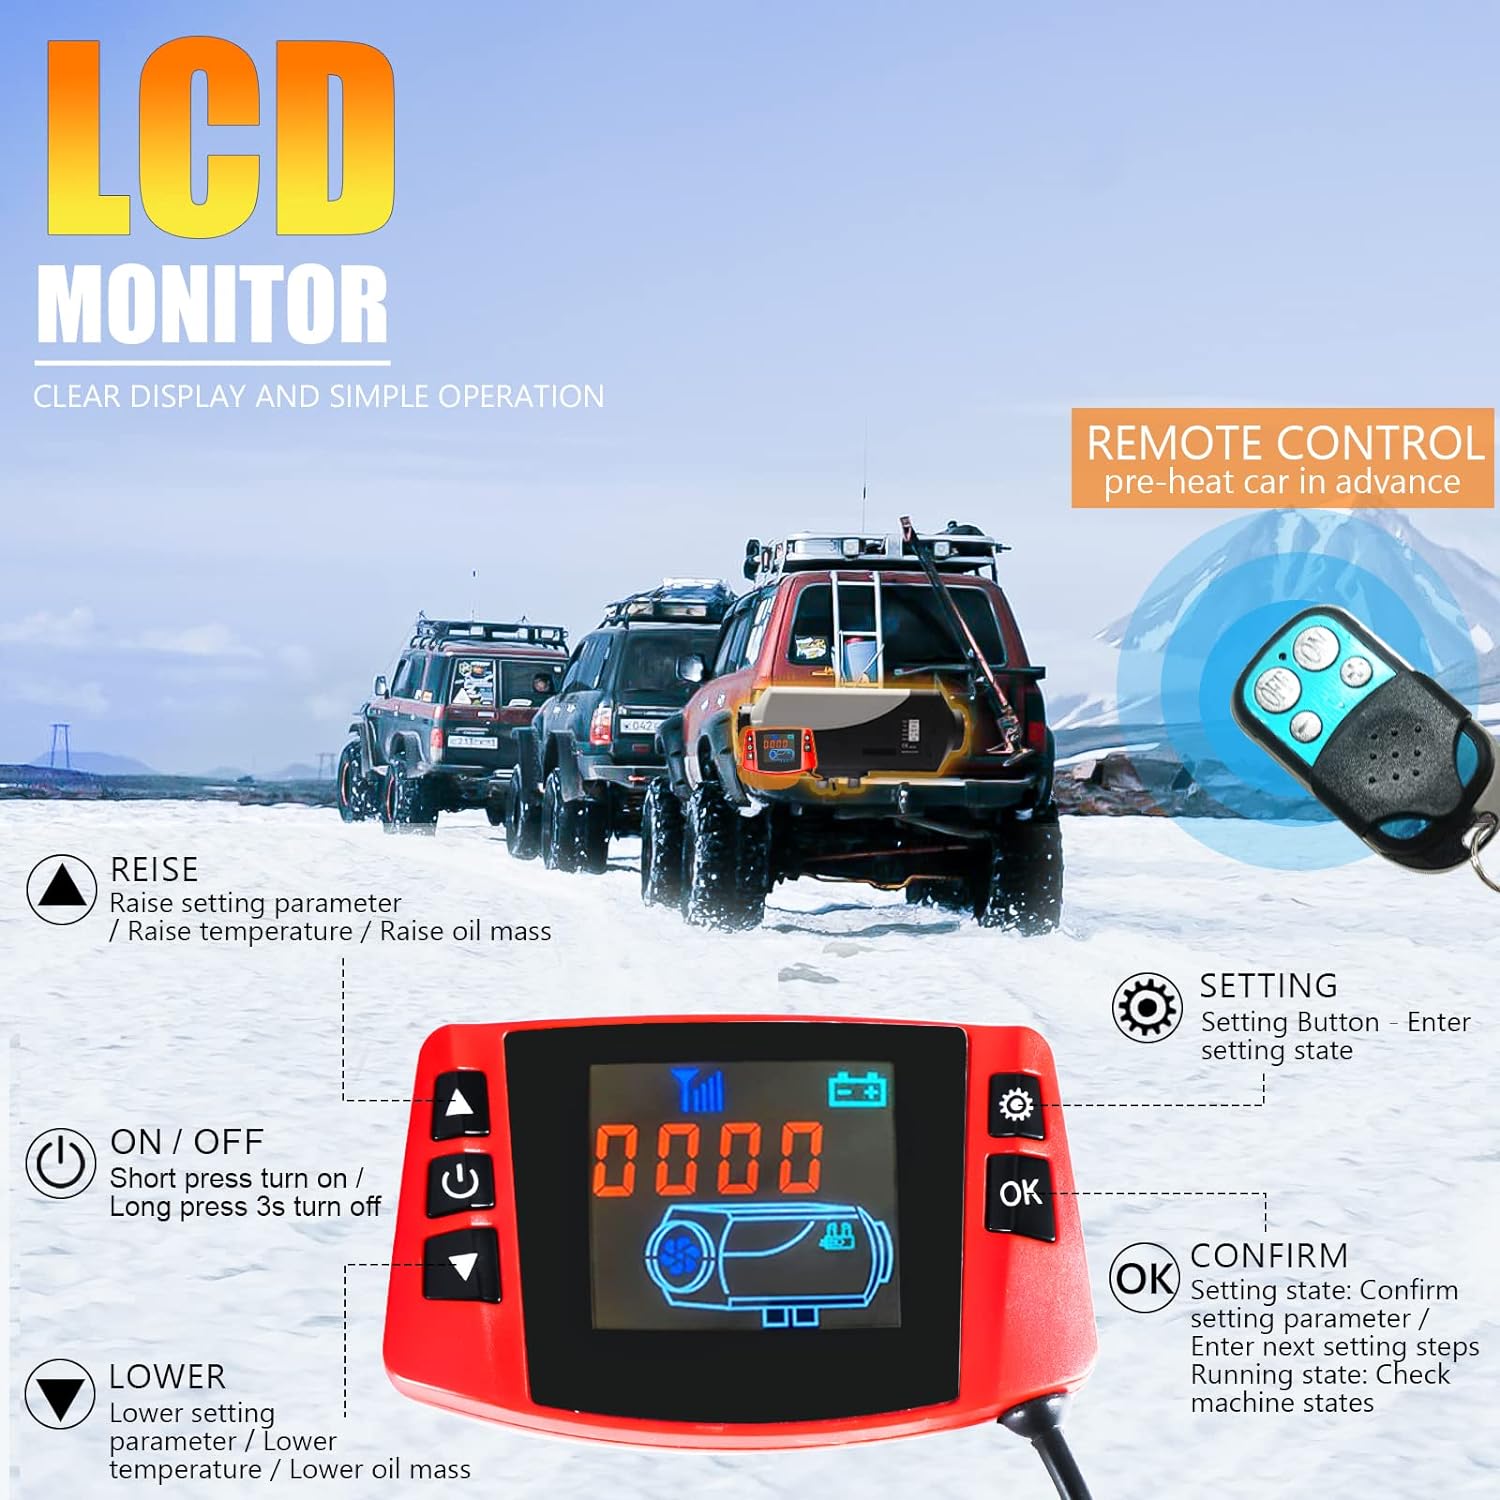
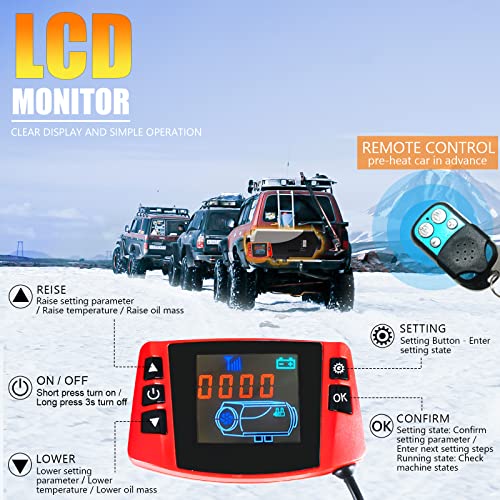
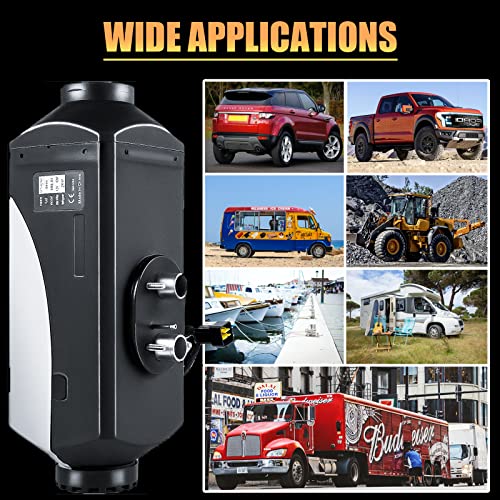
Prime WAYSKA Diesel Heater 12V, 5L Tank, Diesel Heater 2KW, Muffler, Diesel Parking Heater with LCD Monitor & Remote Control for Trucks, Trailer, Boat and Motor-Home


As an Amazon Associate we earn from qualifying purchases. Product prices and availability are accurate as of the date/time indicated.
BEST COMPACT OPTION
6-Circuit Waterproof Fuse Block — Blade Type

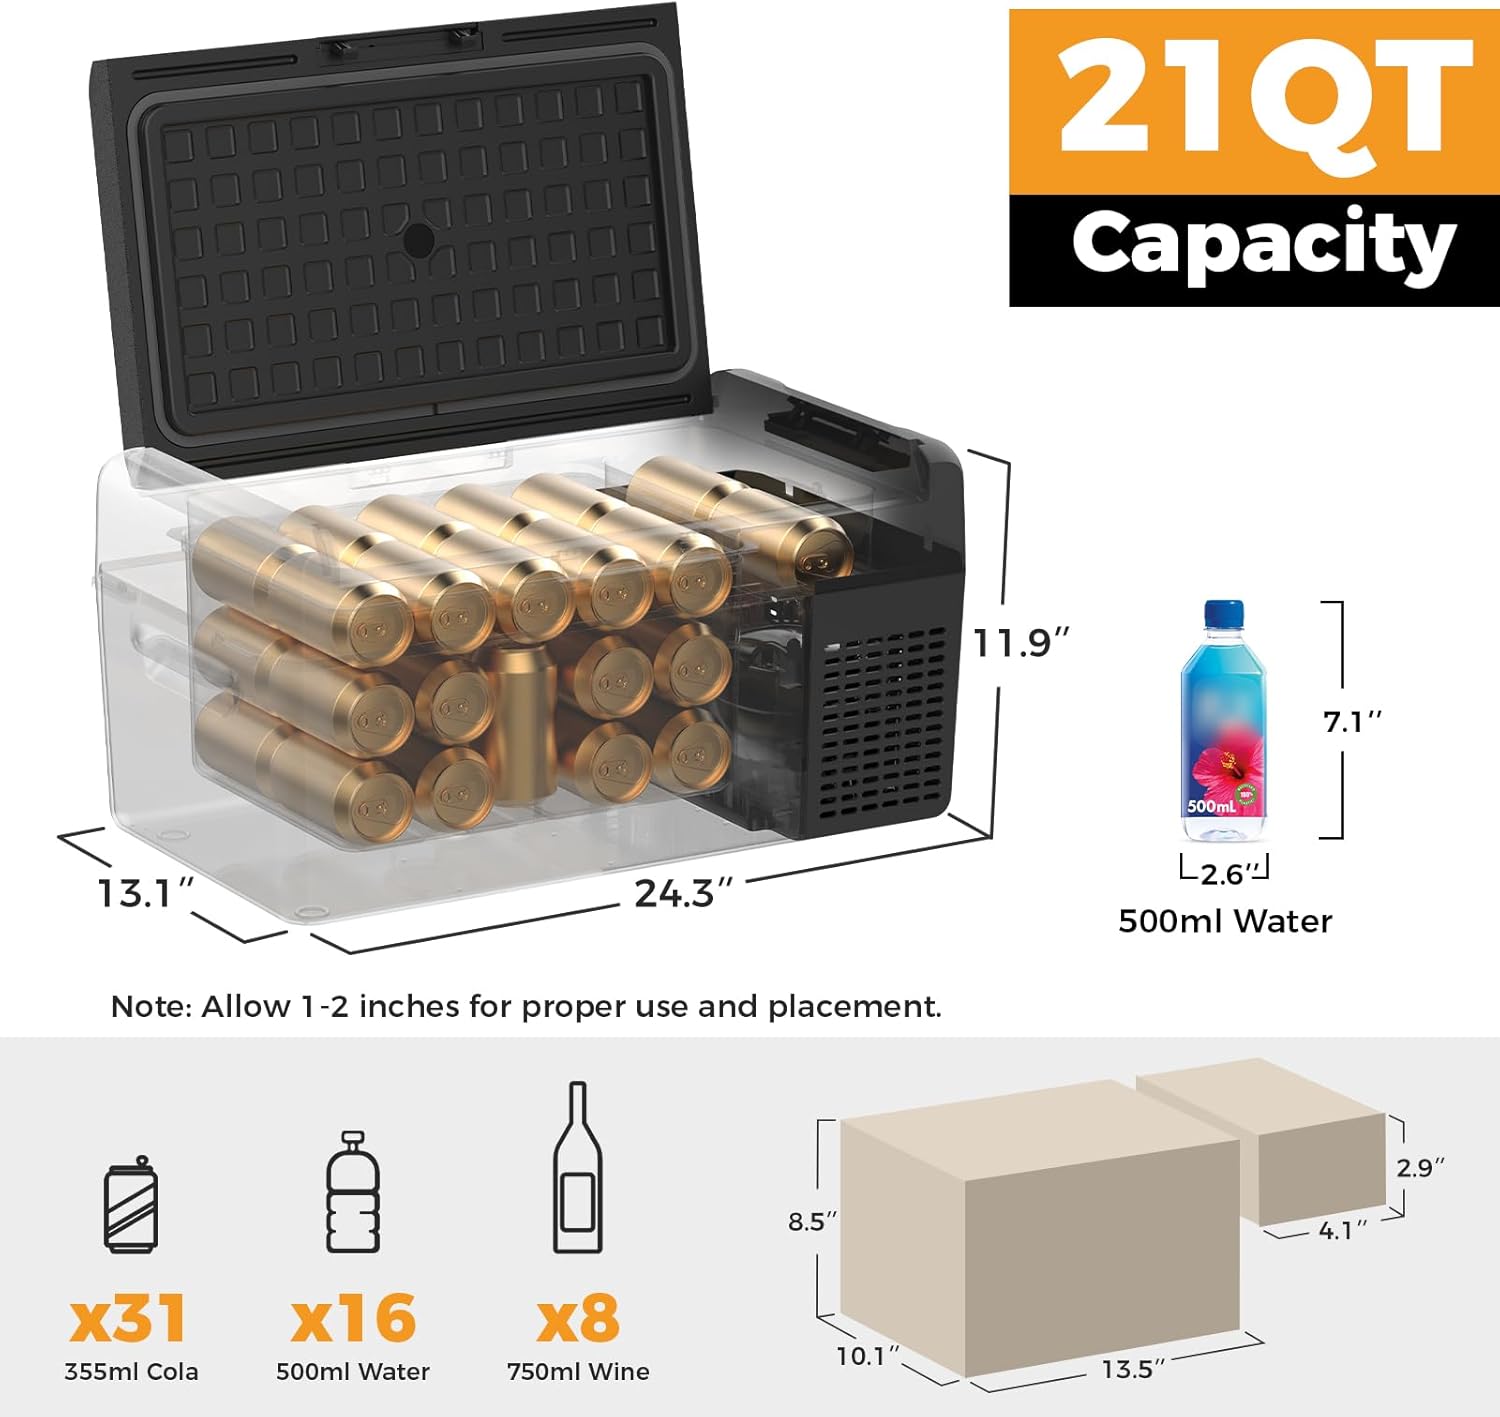
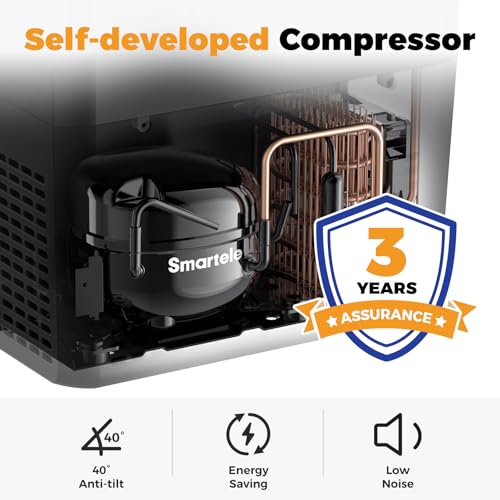
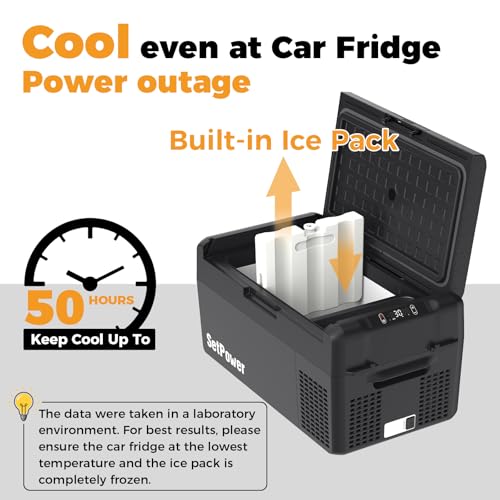
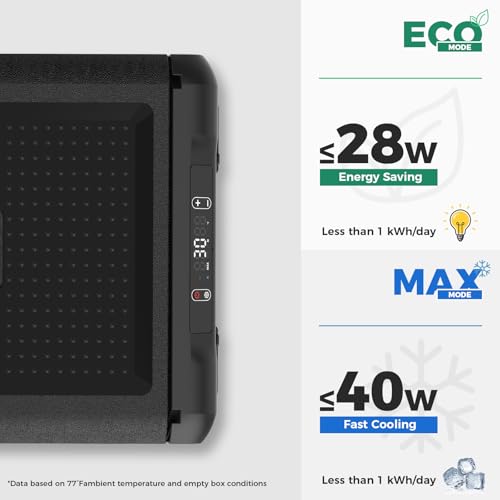
Setpower 12V Refrigerator 21 Quart Portable Freezer 50 Hours Keep Cool,Electric Cooler for Vehicles Car Refrigerator for Car Camping Truck Van RV SUV Road Trip Travel (3-year warranty)


As an Amazon Associate we earn from qualifying purchases. Product prices and availability are accurate as of the date/time indicated.
Fuse Block vs Circuit Breaker Panel: Which Do You Need?
See also: Van Bluetooth Speaker Waterproof Outdoor • Van Magnetic Window Insulation Kit Review
Both protect circuits — the difference is reset behavior and cost:
| Type | Cost | Reset After Trip | Current Rating | Best For |
|---|---|---|---|---|
| Blade Fuse Block | $15–$50 | Replace fuse blade | Up to 30A per circuit | Most 12V van builds |
| ANL Fuse (main) | $10–$30 | Replace fuse link | 100–400A | Main battery protection |
| Circuit Breaker Panel | $80–$300 | Flip breaker (reusable) | 15–50A per circuit | Premium builds, frequent trips |
| MIDI / Maxi Fuse Block | $20–$60 | Replace fuse | 30–100A per circuit | High-current circuits (inverter, fridge) |
For the majority of van builds, a blade fuse block handles all 12V loads under 30A, while a separate ANL fuse (200–300A) at the battery protects the main wire run. Circuit breaker panels are worth the premium if you trip fuses regularly (indicating a load or wiring problem) or want the convenience of resetting without carrying spare fuse blades.
How to Size Fuses for Every Circuit in Your Van
Fuse sizing protects the wire, not the device. The fuse rating should be at or below the ampacity of the wire it protects — not the maximum draw of the appliance.
| Wire Gauge | Max Ampacity | Max Fuse Size | Typical Circuit |
|---|---|---|---|
| 18 AWG | 16A | 15A | LED lighting, small sensors |
| 16 AWG | 22A | 20A | USB hubs, 12V fans, small pumps |
| 14 AWG | 32A | 30A | Water pump, 12V fridge, diesel heater |
| 12 AWG | 41A | 40A | Roof vent fan, high-draw accessories |
| 10 AWG | 55A | 50A | Inverter under 600W, large loads |
| 8 AWG | 73A | 70A | Inverter 600–1000W |
| 4 AWG | 130A | 125A | Main battery-to-panel run |
| 2/0 AWG | 265A | 250A ANL | Main battery positive terminal |
Never oversize a fuse relative to the wire. A 30A fuse on 18 AWG wire will allow the wire to overheat and melt insulation before the fuse blows — that is a fire.
Van 12V Panel Layout: How to Design Your Circuit Map
Before wiring anything, map every circuit you’ll run. A typical 12V van electrical system includes:
- Interior LED lighting (2–4 zones): 18–16 AWG, 5–10A fuse each
- 12V compressor fridge: 14 AWG, 15A fuse (fridge draws 4–8A running, 15–20A startup)
- Roof vent fan (MaxxAir/Fantastic Fan): 14–12 AWG, 15A fuse
- Water pump (12V): 14 AWG, 15A fuse
- USB charging hub(s): 16 AWG, 10A fuse per hub
- Diesel heater: 14 AWG, 15A fuse (startup draw can spike to 10A)
- 12V inverter: 8–4 AWG direct to battery with its own ANL/MIDI fuse, not through fuse block
- Outlets / 12V accessories: 14 AWG, 15A fuse
That’s 8–12 circuits minimum. A 12-circuit fuse block is the practical starting point. Label every circuit at the panel — a printed label strip or a Dymo tape label beats a hand-written marker that fades.
Where to Mount Your Van Circuit Breaker Panel
Panel location affects wire run length, accessibility, and ambient conditions. Best practice:
- Mount within 3–5 feet of your battery bank to minimize the length of the main unfused wire run between battery and panel.
- Accessible but protected — a cabinet drawer or behind a panel door keeps it clean but reachable for fuse replacement.
- Away from moisture sources — not near the sink, not in the wheel well, not directly below a roof vent.
- Vertical or slightly angled mount — makes reading labels easier and keeps debris from settling in fuse slots.
Most builds locate the panel near the battery in a rear corner cabinet, with wire runs fanning out to lighting, fridge, fan, and other loads from a central point. This keeps wire lengths short and power losses minimal.
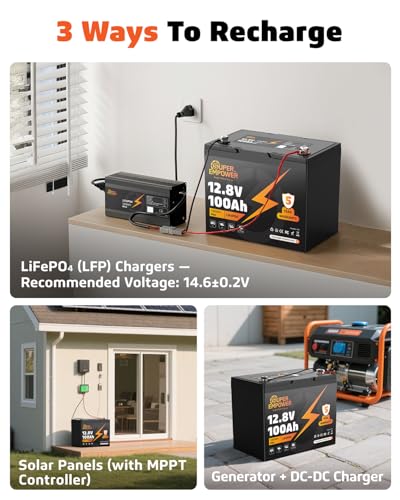
Pair your panel with a quality LiFePO4 battery bank and a properly sized MPPT charge controller for a complete, well-protected electrical system. If you’re adding USB charging hubs, each hub should land on its own dedicated fuse block circuit.
Main Battery Protection: The ANL Fuse
Before your fuse block, between your battery’s positive terminal and everything else, sits your main overcurrent protection: an ANL (automotive, large) fuse or Class T fuse. This protects the main wire run — typically 2/0 or 4/0 AWG — and the battery itself from catastrophic shorts.
Size the ANL fuse to match your wire: 200A ANL for 2/0 AWG, 250–300A ANL for 4/0 AWG. Mount the ANL fuse holder within 18 inches of the battery positive terminal. This is non-negotiable — the unfused wire length between battery and fuse is your highest-risk fault location.
FAQ: Van Circuit Breaker Panel 12V
Do I need a circuit breaker panel or will a fuse block work for a van build?
A quality blade fuse block handles most van builds reliably and costs a fraction of a circuit breaker panel. The practical difference: when a circuit breaker trips, you flip a switch; when a fuse blows, you replace a blade fuse (keep a spare kit in the van). Circuit breaker panels make sense for full-time vanlifers who troubleshoot electrical issues regularly, or for high-current AC circuits. For a 12V-only van build, a fuse block plus ANL main fuse is the standard and proven approach.
Where should I put the main fuse on a van 12V system?
The main ANL fuse must be mounted within 12–18 inches of the positive battery terminal. This minimizes the length of unprotected high-current wire. If your battery is in the rear and your panel is in the middle of the van, the main fuse stays at the battery — the wire run from fuse to panel is then fully protected by the ANL rating. Never mount the main fuse at the panel end of a long wire run.
What size fuse block do I need for a van build?
A 12-circuit fuse block handles most single-person or couple van builds comfortably. Count your planned circuits (lighting zones, fridge, fan, pump, USB hubs, diesel heater, outlets) and add 2–3 spares for future additions. If you expect to run 15+ circuits, start with a 16 or 20-circuit block rather than adding a second block later. Having unused slots is better than running out of room mid-build.
Can I run my inverter through the van fuse block?
No. Inverters above 300W draw too much current (25A+ at 12V for a 300W unit, 100A+ for a 1200W unit) for standard blade fuse blocks rated at 30A per circuit. Run your inverter on a dedicated, heavy-gauge wire (8–4/0 AWG depending on inverter size) directly from the battery through its own appropriately rated ANL or MIDI fuse. The inverter then has its own separate overcurrent protection independent of your main fuse block.
How do I know if my van electrical panel is correctly grounded?
Test with a multimeter: set to DC voltage, place the negative probe on your fuse block’s negative bus bar and the positive probe on your battery positive terminal. You should read your battery voltage (12.0–13.2V at rest for LiFePO4, or 12.6–13.2V for AGM). If you read zero or an unexpected value, your negative bus bar ground connection to the battery negative terminal is missing or has high resistance. A common mistake is relying on chassis ground for 12V house circuits — always run a dedicated negative wire from battery negative to fuse block negative bus bar for house loads.
Ready to decide? Our #1 pick for 2026 is the Blade Fuse Block.
Live price & availability on Amazon.