TL;DR: A vanlife water system doesn’t have to be complicated — fresh tank, pump, filter, faucet, grey tank. This tutorial walks you through sizing, parts, plumbing, and the mistakes that flood vans. Budget options included.
How to Build a Vanlife Water System: Fresh Tank, Grey Tank & Everything Between
Water is the one system that touches every part of van life — cooking, cleaning, hygiene, drinking. Get it wrong and you’re hauling gallons in jugs. Get it right and you have running water on demand, anywhere in the country.
This tutorial covers a complete vanlife water system: fresh tank sizing, 12V pump selection, filtration, faucet plumbing, grey water management, and winterization. No plumbing experience needed.
Quick answer: Our top pick in 2026 is the Solo, minimalist — our #1 rated choice. See the full ranked comparison, alternatives and buying advice below.
- System Overview: How It All Connects
- Top Picks at a Glance
- Step 1: Size Your Fresh Water Tank
- Step 2: Choose Your 12V Water Pump
- Step 3: Plumbing the System
- Step 4: Filtration — Don’t Skip This
- Step 5: Grey Water Management
- Adding a Shower: Portable vs. Onboard
- Winterization: Protect Your System
- Budget Build vs. Premium Build
- FAQ
- Final Thoughts
System Overview: How It All Connects
A basic vanlife water system has five components:
- Fresh water tank — stores your supply (10–30 gallons for most builds)
- 12V water pump — pressurizes the line when you open the faucet
- Inline filter — removes taste, sediment, and contaminants
- Faucet — where water exits
- Grey water tank — collects drain water from sink
Optional but recommended: an accumulator tank (kills pump cycling noise), a water level sensor, and a secondary UV filter for drinking water.
Top Picks at a Glance
See also: Van Bluetooth Speaker Waterproof Outdoor • Van Magnetic Window Insulation Kit Review

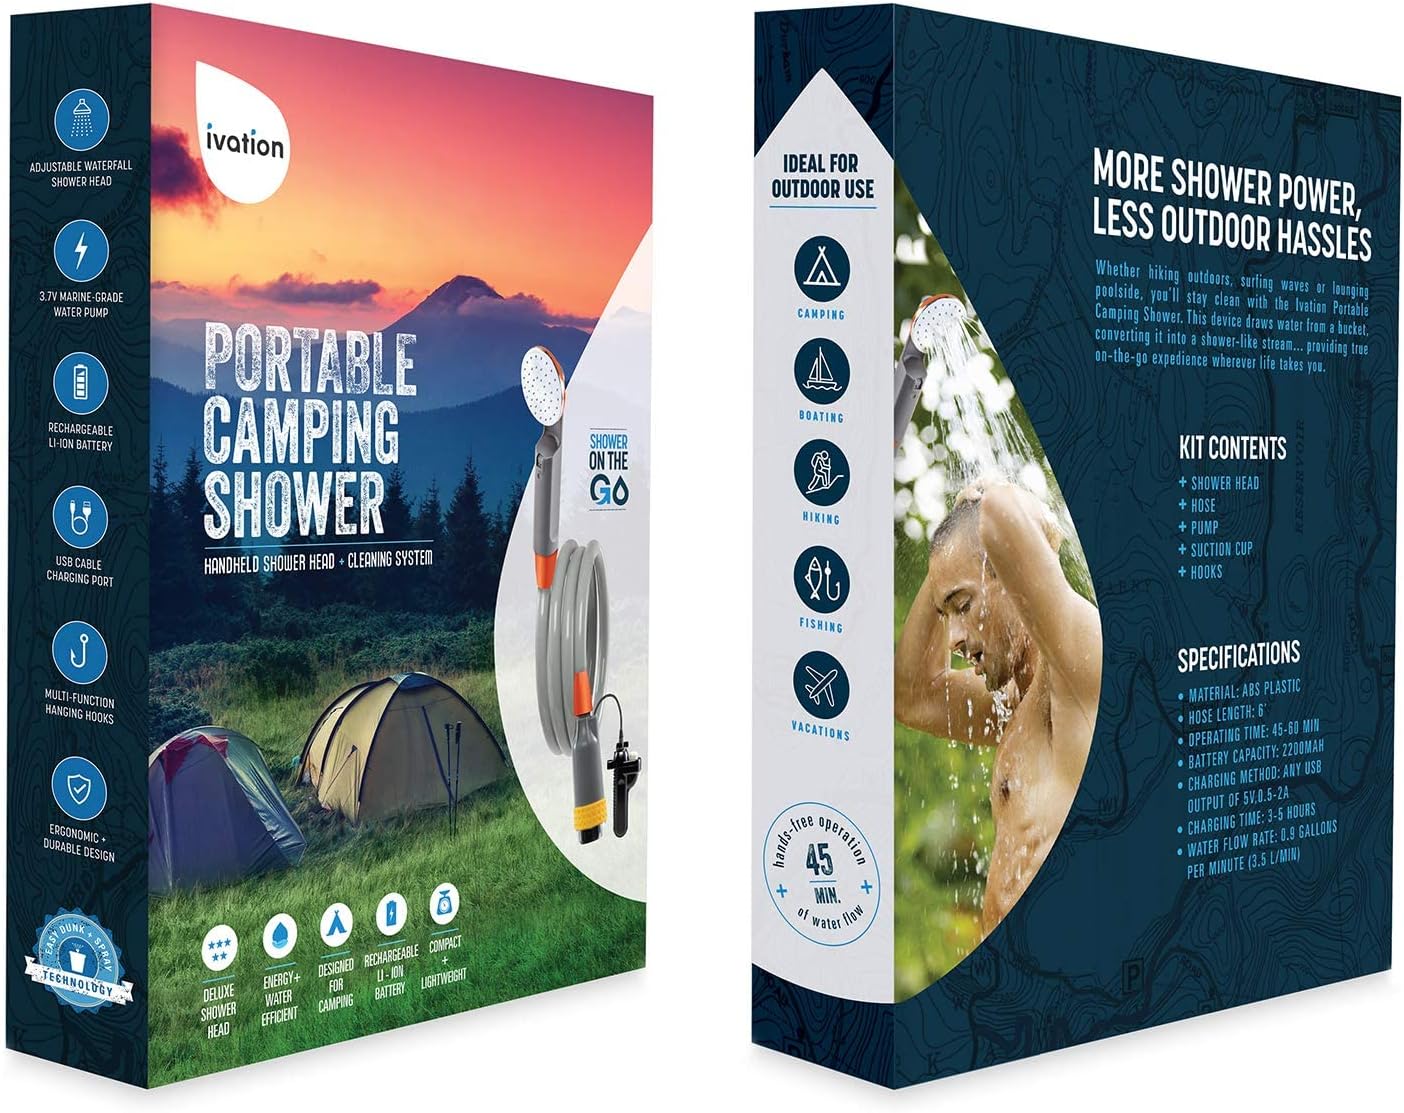
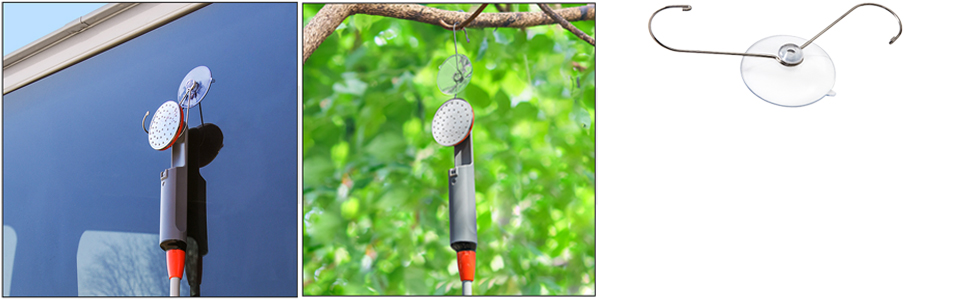
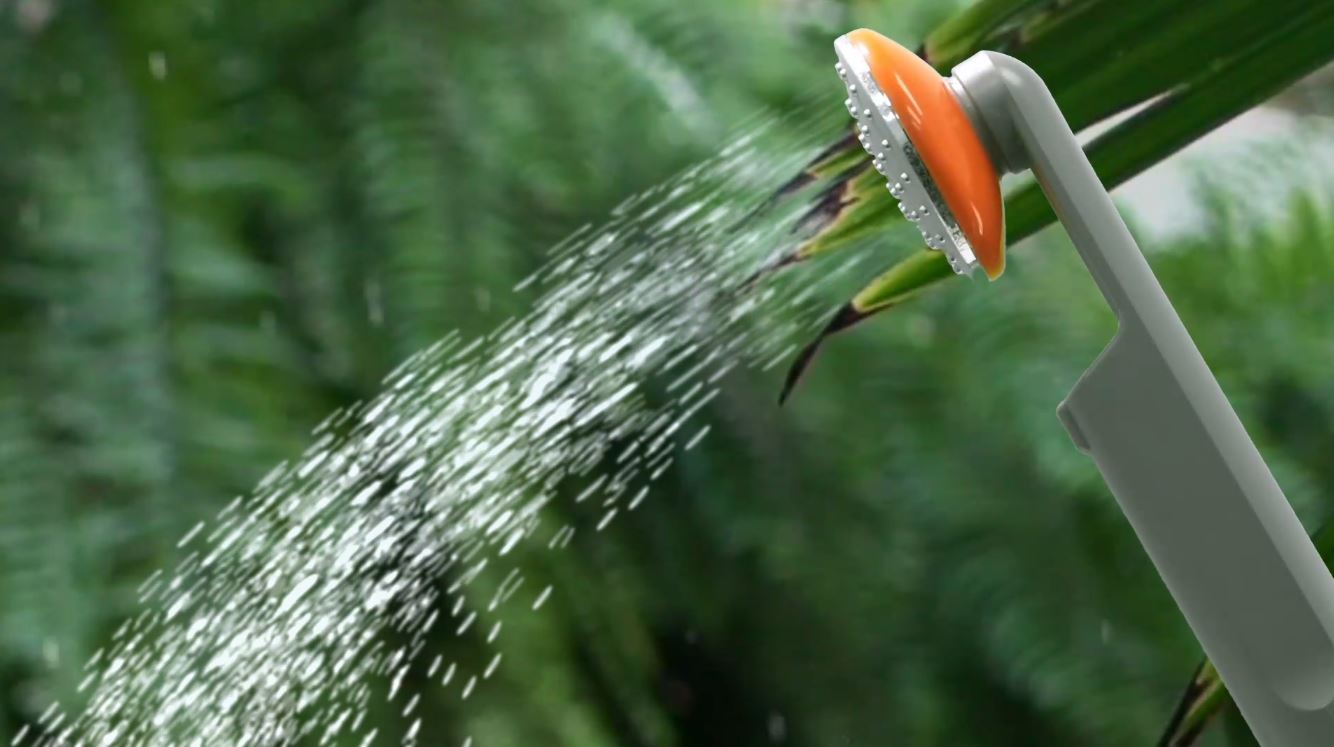
Prime Ivation Portable Camping Shower | Compact Handheld & Hands-Free Rechargeable Outdoor Shower Head & Cleaning System w/ 3.7V Pump, 6-Ft Hose, Bidet Head, Removable Filter, Multiuse Hook & USB Cable


As an Amazon Associate we earn from qualifying purchases. Product prices and availability are accurate as of the date/time indicated.

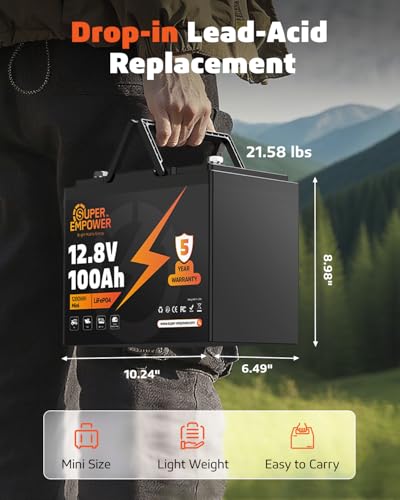
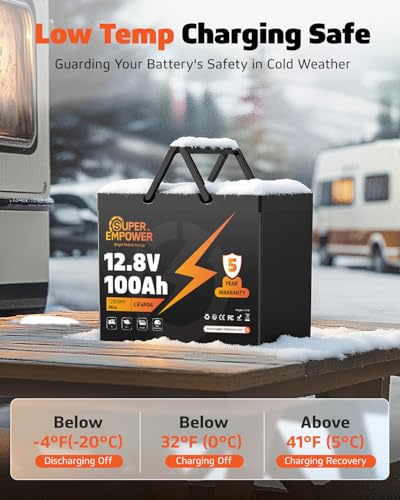
12V 100Ah LiFePO4 Lithium Battery, BCI Group 24 Deep Cycle Solar Battery with Low-Temp Protection, 100A BMS, 1280Wh, 15000 Cycles, 10-Year Lifespan for RV, Marine, Trolling Motor, Marine, Solar Use


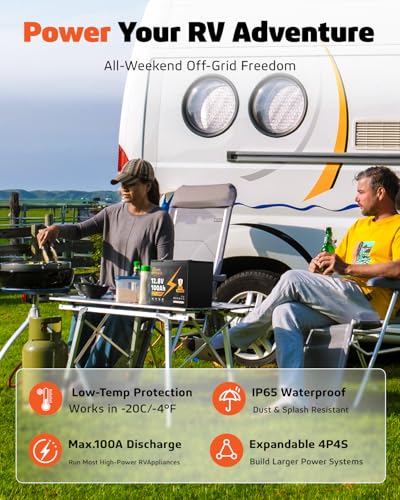
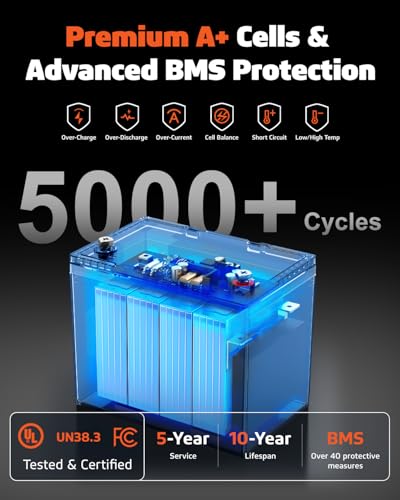
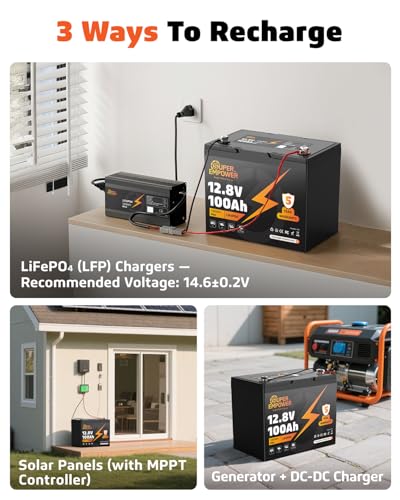
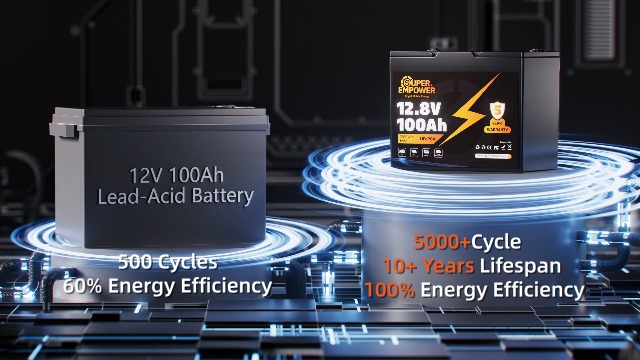
As an Amazon Associate we earn from qualifying purchases. Product prices and availability are accurate as of the date/time indicated.

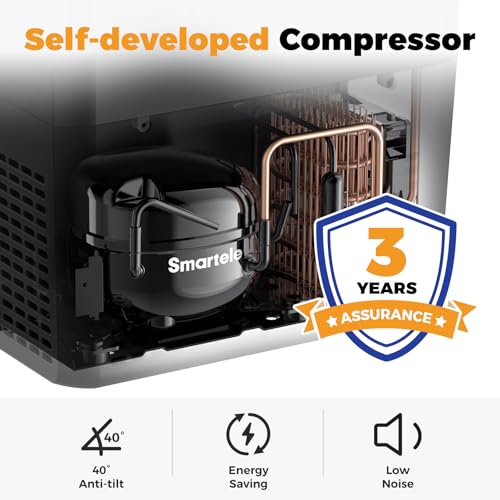
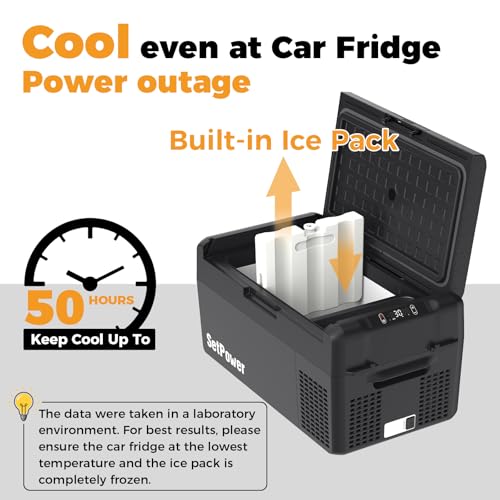
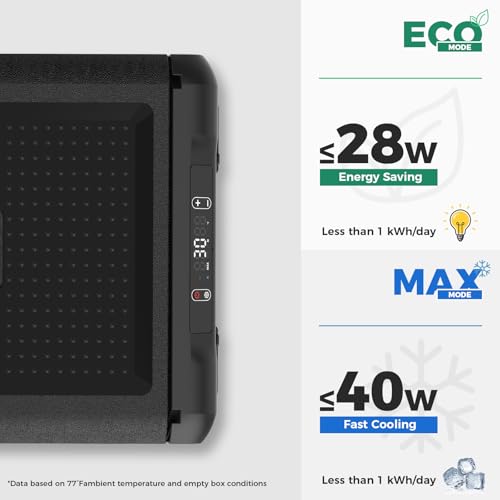
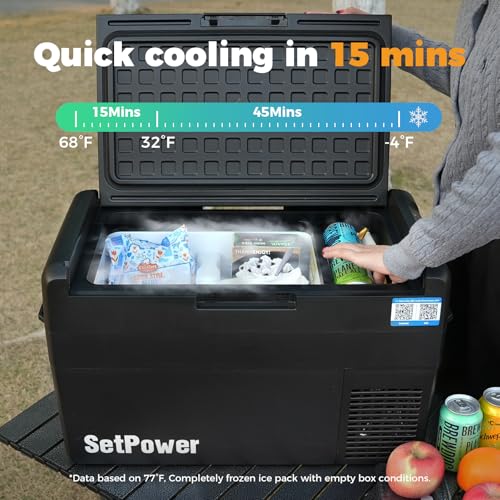
Setpower 12V Refrigerator 21 Quart Portable Freezer 50 Hours Keep Cool,Electric Cooler for Vehicles Car Refrigerator for Car Camping Truck Van RV SUV Road Trip Travel (3-year warranty)


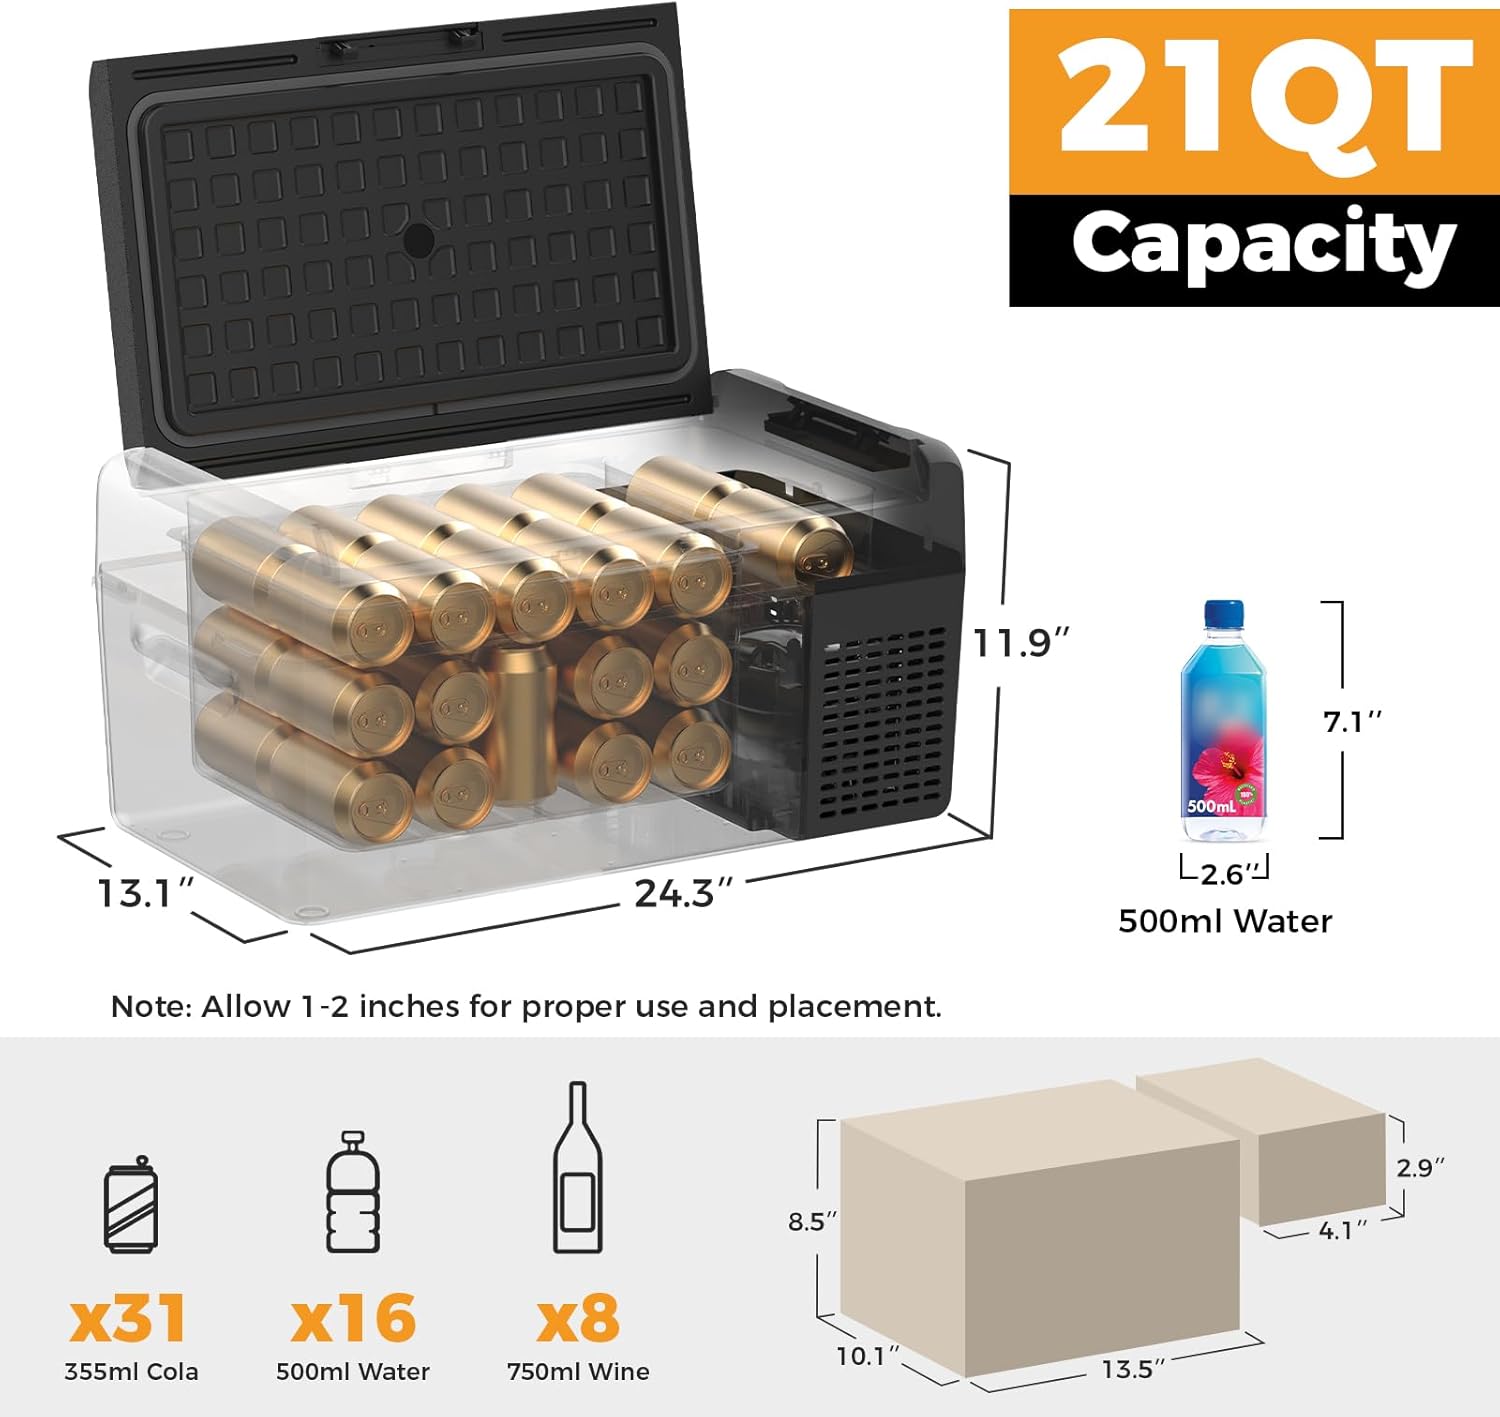


As an Amazon Associate we earn from qualifying purchases. Product prices and availability are accurate as of the date/time indicated.
Step 1: Size Your Fresh Water Tank
Rule of thumb: 1 gallon per person per day for cooking and dishes. Add 0.5 gallons/day if you shower onboard. A solo traveler doing 5-day boondocking trips needs 7–10 gallons minimum. Couples: 15–20 gallons.
| Use Case | Recommended Tank Size | Notes |
|---|---|---|
| Solo, minimalist | 7–10 gal | Supplement with gym showers |
| Solo, onboard shower | 15–20 gal | Navy showers only (2 min) |
| Couple, no shower | 15–20 gal | Weekly refill in most use |
| Couple, onboard shower | 25–30 gal | Consider tankless heater |
| Family/full-time RV | 40+ gal | Fixed tank, gravity or pump |
Tank shape matters as much as capacity. Rectangular RV tanks fit under beds and benches. Bladder tanks conform to irregular spaces. 7-gallon BPA-free jugs (stackable) work well for budget builds.
Step 2: Choose Your 12V Water Pump
The pump is the heart of the system. Key specs:
- Flow rate: 1.0 GPM is minimum; 1.5 GPM is comfortable; 3+ GPM for high-pressure applications
- PSI: 35–55 PSI is standard for faucets; RV-spec fittings are rated for this range
- Self-priming: Required — you want the pump to pull water up from a floor-level tank
- Demand pump: Activates only when pressure drops (faucet opens), cuts off when it closes. Essential for battery efficiency
Top picks: Shurflo 4008 (budget, reliable, 3.0 GPM), Flojet 03526-144A (quieter, 2.9 GPM), Seaflo 33-Series (best value under $40). Wire directly to your battery with a 10A inline fuse.
Step 3: Plumbing the System
Use 1/2″ ID PEX tubing or John Guest push-fit fittings with 3/8″ OD tube for the clean side. John Guest fittings require zero tools and no glue — ideal for van builds where you’ll access tight spaces with one hand.
Plumbing order, tank to faucet:
- Tank outlet → strainer/sediment screen
- Strainer → pump inlet (use 1/2″ ID hose, keep run short)
- Pump outlet → accumulator tank (optional but recommended)
- Accumulator → inline filter (10-micron sediment first, carbon block second)
- Filter → faucet
Secure all hose runs with zip ties and foam clamps to prevent vibration wear. Leave a service loop near the pump for future access.
Step 4: Filtration — Don’t Skip This
City water from campground spigots is chemically treated but often tastes terrible. Well water and natural sources carry sediment and biological risk. Minimum filtration stack:
- Stage 1 — Sediment filter (10 micron): Protects the pump and removes particles
- Stage 2 — Carbon block filter: Removes chlorine, VOCs, improves taste
- Stage 3 — UV purifier (optional): Kills bacteria and viruses for backcountry water
Change Stage 1 every 3 months or when flow drops noticeably. Change Stage 2 every 6 months. Keep spare filters on board — you’ll forget to order them when you need them most.
Step 5: Grey Water Management
Grey water is everything that drains from your sink. Two approaches:
Option A — Grey tank: A 5–10 gallon tank under the van or in a cabinet. Connect your sink drain to it with 1.5″ PVC. Empty at dump stations or designated grey water disposal areas. Legal in all 50 states at proper facilities.
Option B — Portable grey bin: A 5-gallon bucket or RV grey tank caddy under the sink. Simpler, cheaper, more flexible. Works well for solo builds.
What NOT to do: Don’t dump grey water on the ground in National Parks, State Parks, or anywhere near water sources. It’s illegal in most areas and leaves a mess. Always use bio-degradable soap if you’re in areas without dump stations.
Adding a Shower: Portable vs. Onboard
A full onboard shower adds complexity: hot water heater, shower pan, drainage. Most full-time vanlifers skip it in favor of:
- Portable solar shower bag (5 gal): Hangs outside, heats in the sun, outdoor rinse — free
- Rechargeable pump shower: Works from any bucket or your fresh tank; fits under the bed; perfect for this portable camping shower vanlife article
- Gym membership: Planet Fitness $25/month gets you showers nationwide — most full-timers carry one
Winterization: Protect Your System
Water expands when it freezes and will crack tanks, split hoses, and destroy pump housings. If temps drop below freezing:
- Drain the tank completely — open faucet until dry
- Run pump briefly to purge lines
- Blow out with compressed air or use RV antifreeze (non-toxic propylene glycol, not automotive antifreeze)
- Open all valves to prevent ice pressure buildup
Winter vanlife is doable — a good this guide on diesel heater 12v vanlife keeps the van warm enough to prevent freezing in most conditions. Below -10°F you’ll want insulated tank enclosures too.
Budget Build vs. Premium Build
| Component | Budget (~$150 total) | Premium (~$450 total) |
|---|---|---|
| Tank | 7-gal BPA jugs ($20) | 15-gal RV tank ($80) |
| Pump | Seaflo 33 ($35) | Flojet Quiet ($75) |
| Filter | Single carbon inline ($15) | 2-stage + UV ($80) |
| Faucet | RV single-handle ($20) | Brushed nickel pull-out ($60) |
| Grey tank | 5-gal bucket ($8) | RV grey caddy ($55) |
| Fittings/hose | $50 | $100 |
Both work. The budget build serves full-time vanlifers just as well as the premium — the main difference is aesthetics and noise level from the pump.
FAQ
How much water does a vanlife water system hold?
Most van builds run 7–20 gallon fresh tanks. Cargo vans can fit 20–30 gallon tanks under a bed platform. Full-size RVs carry 40–100+ gallons in fixed underbody tanks.
Do I need a water heater in my van?
Not necessarily. Many vanlifers heat water in a kettle for dishes and rely on gym showers for hygiene. If you want hot running water, a propane or electric tankless heater (like the Camplux 5L) adds hot water without a bulky tank.
How do I fill my van’s fresh water tank?
Campground spigots with a garden hose (use a food-grade hose), water fill stations at RV parks, and jugs from gas stations or grocery stores. A gravity-fill port or electric fill pump both work. Never use a non-food-grade hose for drinking water tanks.
Can I drink from a van water system?
Yes, with proper filtration. A two-stage filter (sediment + carbon block) makes campground tap water safe and good-tasting. Add a UV purifier if you’re sourcing from wells or natural water. Always use food-grade hoses and BPA-free tanks throughout the system.
How do I prevent mold in a vanlife water system?
Use your water regularly — don’t let it sit for weeks. Sanitize tanks every 3–6 months with a diluted bleach solution (1 tsp unscented bleach per gallon, let sit 4 hours, flush completely). Keep the grey tank vented to prevent sewer gas buildup. Change filters on schedule.
Final Thoughts
A vanlife water system is one of the most impactful upgrades you can make to a build. Running water transforms daily life on the road — dishes don’t pile up, cooking gets easier, and you stop hunting for water sources constantly. Start simple, size your tank for your actual use, and upgrade as you understand your real consumption. Pair it with a solid best-in-class 12v lifepo4 battery 100ah and this rv accessories must have article to complete your off-grid setup.
Ready to decide? Our #1 pick for 2026 is the Solo, minimalist.
Live price & availability on Amazon.